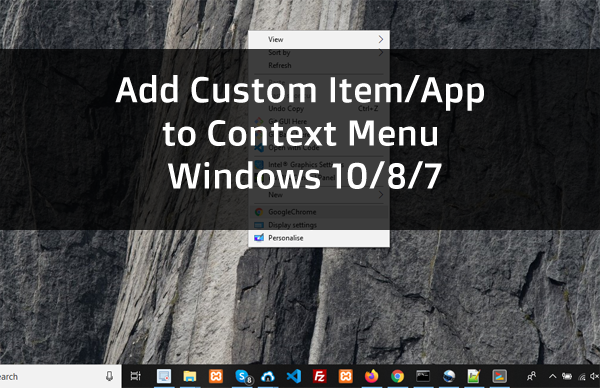
When we right click on desktop there is a menu opens, this menu is called Context Menu. Context menu has some default menu items like ‘view’, ‘sort by’ ,’Refresh’, ‘Paste’, ‘Display Properties’ and so on.
Here we are going to learn how to add new item or applications to context menu so that we can access applications quickly.
So lets start it. Here I’ll add ‘Google Chrome’ into Context Menu.
Windows 10/8/7 – Add new item/app into Context Menu with icons and position
Lets try to add ‘Google Chrome’ into context menu
- Open Registry Editor by typing registry editor on search
- Go to : Computer\HKEY_CLASSES_ROOT\Directory\Background\shell
- Under ‘shell’ folder create new key called ‘GoogleChrome’
- Under ‘GoogleChrome’ folder create new key called ‘command’
- Edit ‘command’ key and set notepad++ path in value: ‘C:\Program Files (x86)\Google\Chrome\Application\chrome.exe’
Set Icon
- Under ‘GoogleChrome’ folder create new String Value (not key) called ‘Icon’.
- Modify ‘Icon’ and set value : ‘C:\Program Files (x86)\Google\Chrome\Application\chrome.exe’
Set Position
- Under ‘GoogleChrome’ folder create new String Value (not key) called ‘Position’.
- Modify ‘Position’ and set value : ‘Top’ or ‘Bottom’
Now go to desktop and right click, you will see ‘Google Chrome’ option in context menu.
Please subscribe my youtube channel to learn more tricks and tutorials


